Tasty Tuesday -- Solar S'mores Snack
This week we will explore a sun theme! Let's start off with a tasty way to explore the power of the sun!
You will need:
Cardboard box
Foil
Tape
Plastic wrap
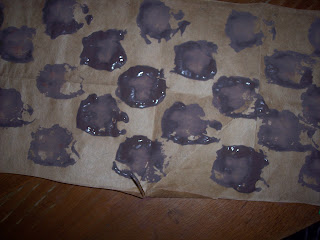
Graham crackers
Marshmallow
Chocolate bar
 1) Line the inside of a cardboard box with foil.
 2) Place the chocolate bar and marshmallow on top of the graham cracker. Cover the top with plastic wrap and tape it down. Try to move the box carefully or the marshmallows will fall off (it will still work fine even if they do. Ours fell off, but I just put them back on when we took off the plastic wrap!).
 3) Place the box in the sunshine for one-half to two hours (depending on the temperature outside and how direct the sunlight). It was partly cloudy today, so it took longer for ours to work. I think it would work pretty quickly if there were no clouds in sight!
 4) Allow your child to feel how hot the box is and see the effect of the sun on the chocolate and marshmallows. Then, eat your s'more snack!
You will need:
Cardboard box
Foil
Tape
Plastic wrap
Graham crackers
Marshmallow
Chocolate bar


posted by Stacie at
1:54 PM
1 Comments
![]()
![]()