Today, I wanted to introduce Masterpiece Monday. I thought I would intersperse these with Montessori Monday, and eventually, I hope to add a Musical Monday!
Introducing preschoolers to art is not difficult, but it does take a little planning. A visit to the library should provide you with plenty of material. If not, you might consider purchasing a book of masterpieces (while I am partial, I still think
Usborne has some of the most beautiful books for art including
The Children's Book of Art,
The Usborne First Book of Art,
The Usborne Art Treasury, and
The Usborne Book of Art). Obviously, you won't go into great detail, but a preschooler will enjoy looking at the artwork. Share a few background details, then you might ask a question or two about what they see (to help focus their attention).
Our theme for this week is picnics. While not a picnic, per se, this work by Georges Seurat gives a serene and peaceful feeling of leisure (which reminds me of a picnic!).
You can see the work at the link below:
A Sunday Afternoon on the Island of La Grande Jatte
Georges Seurat developed the technique of pointillism (which he called divisionism) in the 1880s. Pointillism is painting dots or small brushstokes of color close together. From a distance, the colors will blend and appear to form a new color. Seurat worked on
A Sunday Afternoon on La Grande Jatte for two years. The painting has 3.5 million dots!
I was able to view this work a few years ago in Chicago, and it was impressive. I had seen prints of the painting but was unaware of the painting's size. Check out this photo from
The Art Institute of Chicago to give you an idea of it's enormity!
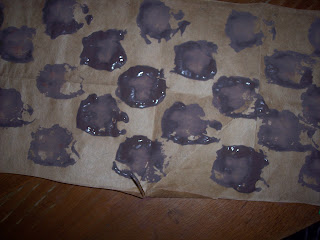
Here is a simplified version of pointillism for preschoolers!
1) Fill an egg carton with various colors of paint (I prefer washable!). Give your child several Q-tips.
2) Show your child how to make dots on the paper to form designs (or just do something abstract).
3) Another idea would be to give your child a coloring page or book and have them "dot" the picture.
Be careful if doing this with a two year old! Sunshine thought it was fun to say, "Dot, dot, dot, dot, dot, dot, dot, dot" the whole time she was painting! Then, when I was helping the other girls, she continued the "dot, dot, dots" on herself. So, today really was an amazing mess!

Labels: Masterpiece Monday
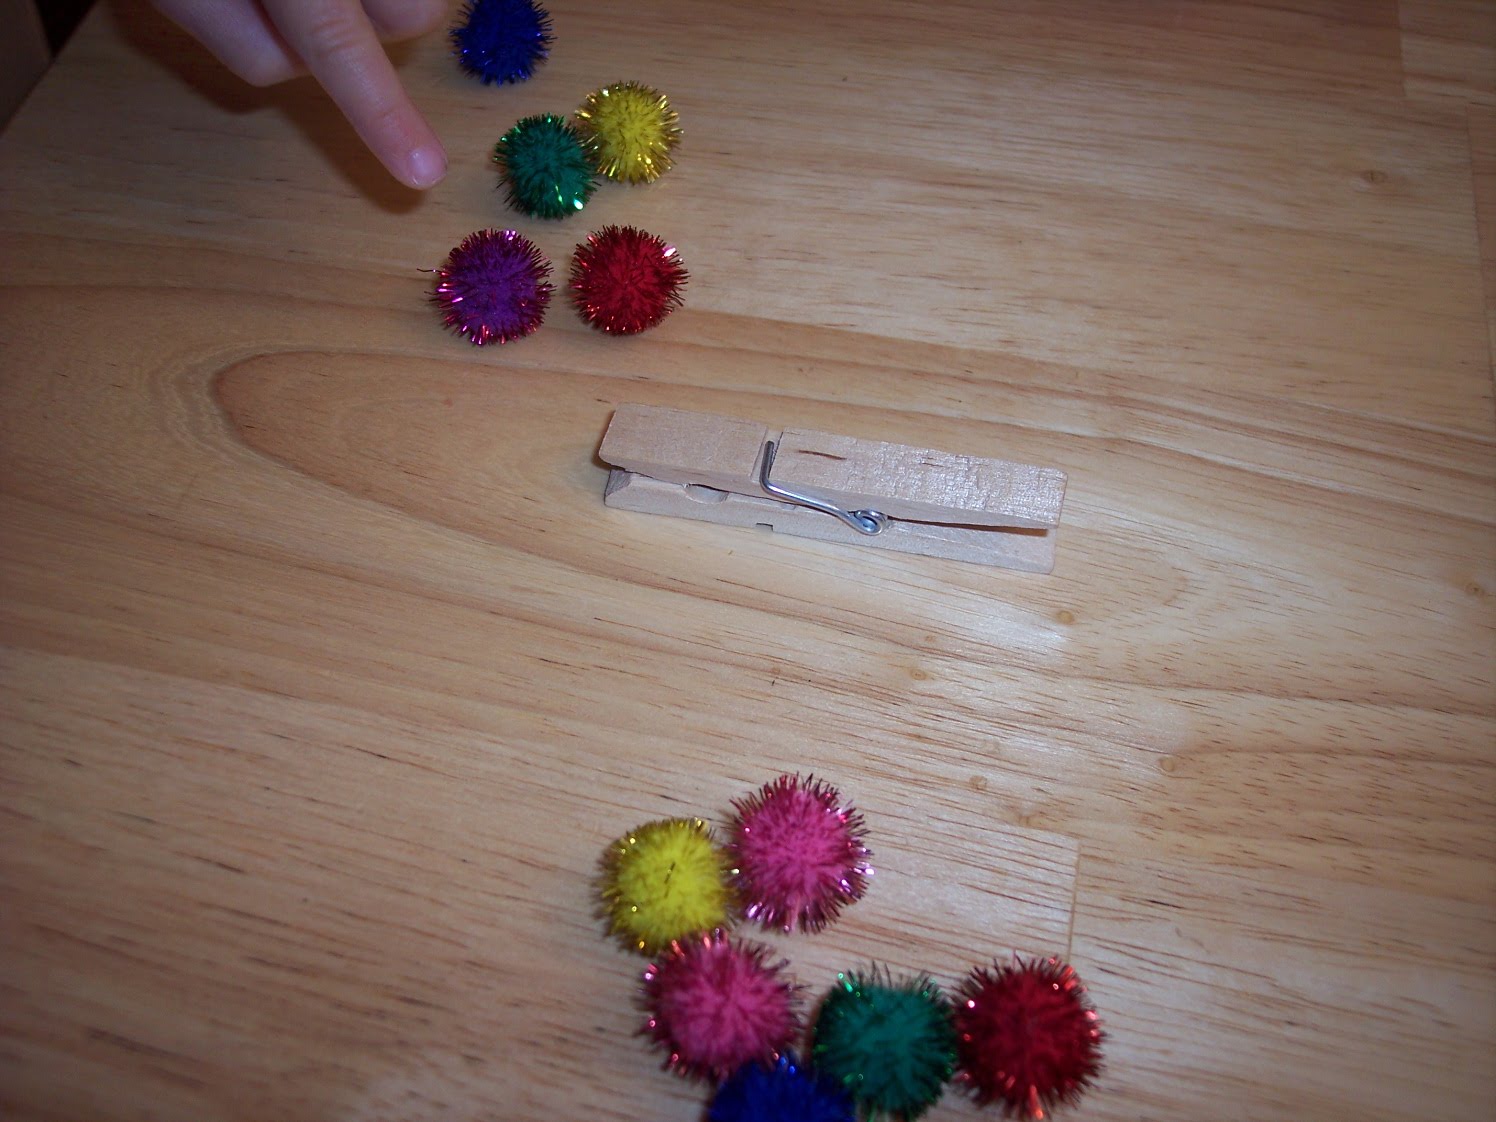
 1) Show your child the items and place them in the basket.
 2) Have her close her eyes, put her hands in the basket, and pick up one item (keep the lid down if possible).
 3) Ask her to feel the object. Ask what she has in her hand. Have your child bring it out and check to see if she was right!