Friday, October 1, 2010

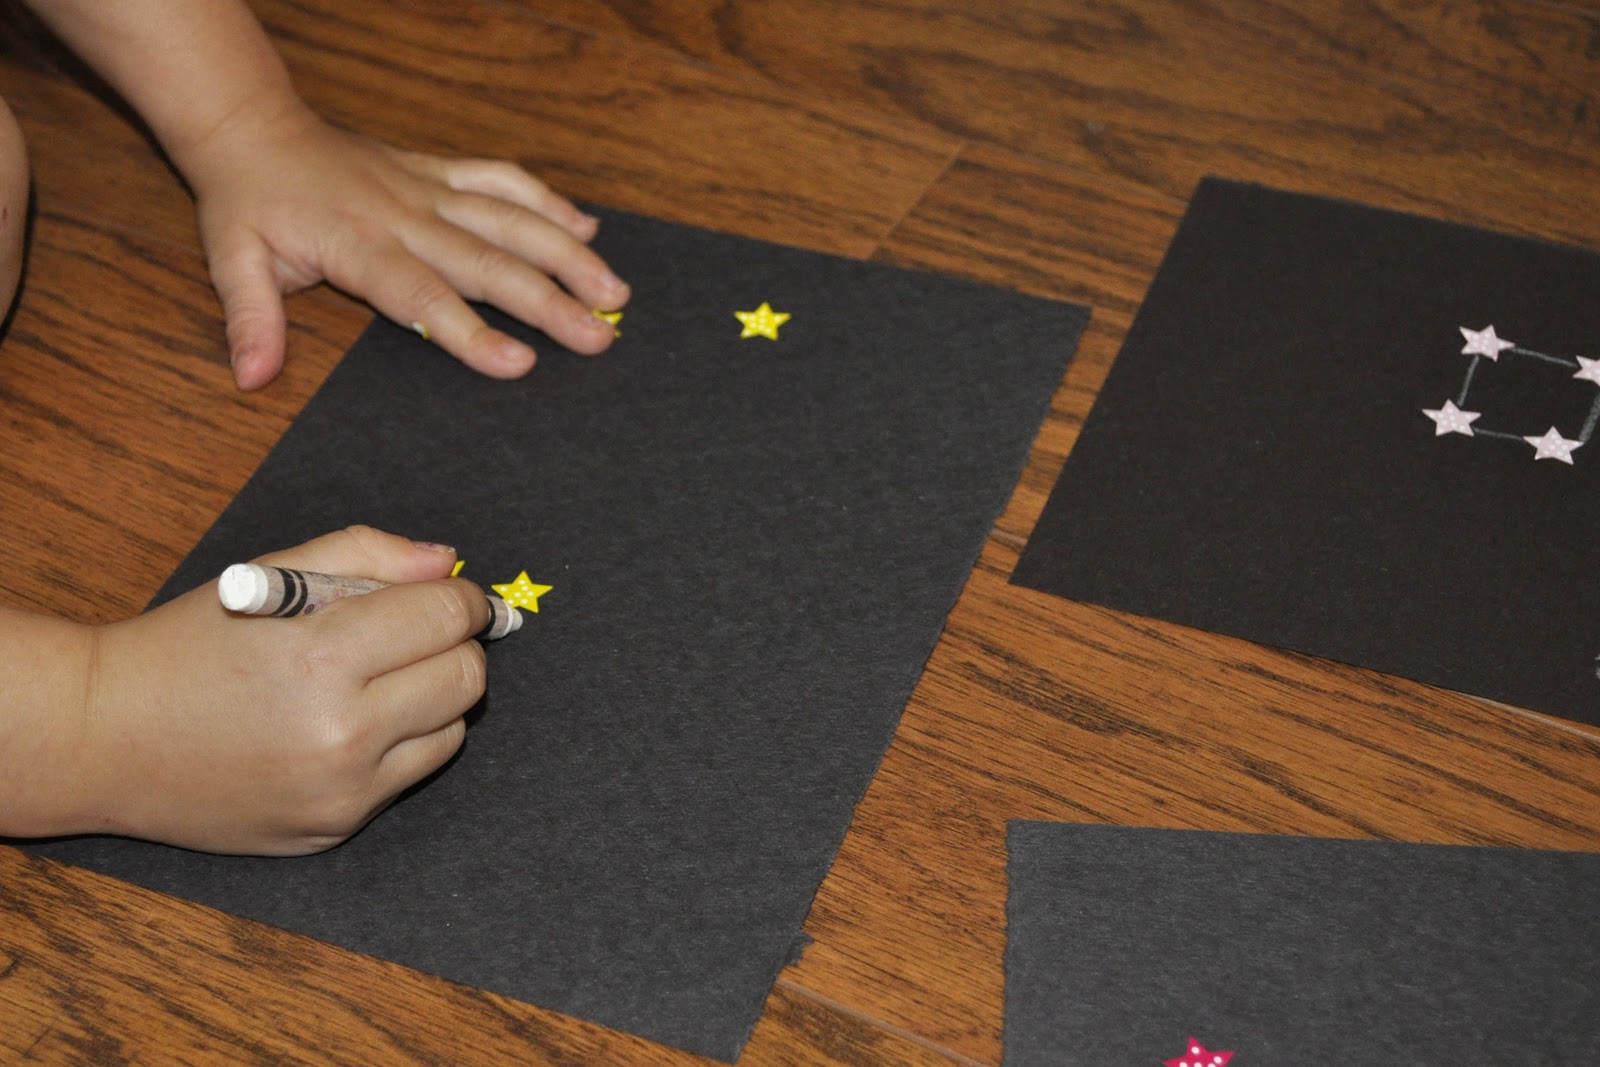
Thumbtack Star Constellation

I must be in the mood for simple this week, because this is another easy project!

You need:
Thumbtack
Black paper
Soft surface (towel, old carpet square, old blanket, etc.)

1) Poke holes in the paper with the thumbtack. Make sure to have a soft surface underneath. We used a towel.

2) Hang in a window to see the "star" creation!

Please, make sure to supervise at all times! Some preschoolers are ready to give this a try, but others might not be! Also, if you have an older child, they might enjoy designing a more challenging pattern.
I am linking up to ABC & 123: Show & Tell.

Labels: ,

Thursday, September 30, 2010

Marshmallow Constellation

Here is another simple idea for creating a constellation.

You need:
Marshmallows
Toothpicks


1.  Connect marshmallows with toothpicks to form a constellation.

If you want a completely edible creation, try using regular-sized marshmallows and pretzel sticks!

abc button

Labels: ,

Wednesday, September 29, 2010

Invent a Constellation

Usborne Spotter's Guide: The Night Sky With Internet LinksThe girls don't get to see the stars very often (they're usually already asleep), but they've had several opportunities recently.  Thankfully, the stars are pretty bright and clear where we live, so I've tried to point out some constellations.  We've also looked through Usborne's The Night Sky Spotter's Guide to see the many different constellations.  Then, we used this activity to invent our own.


You need:
Star stickers
Black paper
White crayon


1.  Place star stickers in random places on a black piece of paper.

2.  Make a constellation by drawing lines to connect the stars.

If you're feeling creative, you could even brainstorm a name for your constellation!

preschool corner

Labels: ,

Friday, September 24, 2010

Moon Phases Crayon Rubbing

Papa, Please Get the Moon for MeI began this activity with a reading of Papa, Please Get the Moon for Me by Eric Carle.  This delightful story features fold-out pages (so Papa can climb a ladder to get the moon) and a nice introduction to the waxing and waning of the moon.  After finishing the book, try this activity to explore the phases of the moon. 


You need:
Sandpaper
Tape
Black paper
White crayon

 1)  Trace a circle (3-4 inches across) on sandpaper.  Cut out.

2)  Tape the circle to the work surface.  Cut a piece of black paper in four sections.  Cover the circle with black paper.

3)  Remove the paper from the crayon.  Make a rubbing of the circle.

4)  Cut the circle in half.  Repeat the above steps.  Cut the half circle into a crescent.  Repeat the above steps.

Using a very rough sandpaper creates a nice "crater" effect for the moon.  After finishing the crayon rubbings, we labeled the moon phases and stapled them at the top to make a little booklet.

Make sure to save your crescent moon!  We'll use it next week during our "Star" theme!

Labels: ,

Thursday, September 23, 2010

Pretend Play: Space Suit Oxygen Pack

This goes perfectly with our helmet and moon shoes!
 
You need:
2L pop bottles (2)
Duct tape

1)  Cut two pieces of duct tape about 2.5 feet long.  Fold in half to stick together.  These will be the straps.

2)  Cut two more pieces of duct tape about two feet long.  Place one piece under the pop bottles (sticky side up).

3)  Place the straps on top of the bottles.  Secure the tape around the straps and bottles.  Repeat process with the 2nd piece of tape near the bottom of the bottles.

4)  Cut a 2.5 inch piece of duct tape.  Hook the ends of the strap together.  Repeat for the other strap.

Here is our finished pack!  (Yes, she's still in her pajamas!  That's just how our morning went!!)


Labels: ,

Wednesday, September 22, 2010

Experiment: Making Moon Craters

Here is an easy way to explore how meteors make craters on the moon!

You need:
Dish or tray
Flour
Small, round objects (marbles, jawbreakers, ping pong balls, etc.)

1)  Place flour in tray and smooth.  Drop round objects (we used jawbreakers left over from a parade) from various distances in the tray.

2)  Carefully remove the round objects.  Talk about the differences in the depths of the "craters".  Smooth and try again if desired!

We had fun making a mess after our experiment!

Labels: ,

Tuesday, September 21, 2010

Tasty Tuesday: Eat Like An Astronaut

Make and eat your own "astronaut" pudding!  For more information about eating in space, check out this video (for kids), this video (lots of information), and this NASA site.

You need:
Instant pudding mix
Milk
Plastic bag
Straw

1)  Pour two tablespoons of instant pudding mix into a plastic bag.

2)  Add 1/3 cup of milk to the bag and seal.

3)  Squish and shake the bag for several minutes.

4)  Insert straw and drink!

If the pudding is too thick to drink, add a little milk and mix it up again!

abc button

Labels: ,

Monday, September 20, 2010

Pretend Play: Making Helmets and Moon Shoes

This week, we're exploring the moon!  One of my very favorite books on the moon for preschoolers is from the Usborne Picture Book series.  I tried sharing several different moon books with my little ones, but I couldn't seem to hold their interest.  There was just too much information in them.  Then, I read On the Moon.  They loved it!  The illustrations are captivating, it shares enough information without overwhelming them, and it got them thinking about making their own spaceship!

After reading the book, we began brainstorming ideas for making our own spacesuits and spaceship!  We began with a SIMPLE helmet and moon shoes!

SPACE HELMET

You need:
Paper grocery bag or gift bag
Scissors
Embellishments

1.  Place a paper bag or gift bag (we used an old one from my used gift bag container) over your child's head.  Locate their face to plan where to cut the hole.

2.  Cut a hole for the face.  Decorate if desired!  


MOON SHOES

You need:
Two large sponges
Rubber bands

1.  Place a rubber band around the sponges and your child's feet.

You could always use snow boots for your spacesuit if you don't have sponges!

Labels: ,